How to Choose a Forex Broker and Open a Demo Account (2026 Guide)
Last Updated: July 2026
Choosing the Right Forex Broker Could Save You Thousands
One of the biggest decisions every new forex trader makes is choosing a broker. The broker you select determines your trading platform, execution speed, spreads, customer support and, most importantly, the safety of your money. Choosing the wrong broker can lead to unnecessary fees, poor trade execution and, in some cases, falling victim to an unregulated scam.
Fortunately, finding a trustworthy broker is much easier when you know what to look for. A good broker should be properly regulated, offer competitive trading costs, provide reliable trading platforms such as MetaTrader 4 or MetaTrader 5, and allow beginners to practise on a free demo account before risking real money.
As a retired forex trader with more than eight years of trading experience, I’ve tested numerous brokers over the years. One lesson became clear very quickly: never open a live account until you’ve spent time practising on a demo account. Demo trading allows you to learn how the platform works, test your strategy and build confidence without risking your own capital.

Brian Rosemorgan
Retired Professional Trader | 8+ Years Experience | South Africa
Questions?
- Tokyo: 00:00 — 08:00
- London: 09:00 — 15:00
- Overlap: 15:00 — 17:00
- New York: 17:00 — 00:00
Quick Navigation
AI Overview
Choosing a regulated forex broker and opening a free demo account is one of the safest ways to begin your trading journey. A reputable broker protects your funds through financial regulation, offers reliable trading platforms and provides access to demo accounts that allow you to practise with virtual money before trading live.
When comparing brokers, beginners should focus on regulation, trading costs, customer support, platform quality and ease of withdrawals rather than promotions or unrealistic bonus offers. Taking time to compare brokers can prevent costly mistakes later.
This guide explains how to choose a trustworthy forex broker, the warning signs to avoid, how to open a demo account step by step and why practising first can dramatically improve your chances of long-term success.
1. How to Choose a Forex Broker
With hundreds of forex brokers available online, choosing one can feel overwhelming. Fortunately, you don’t need to compare every feature. By focusing on a handful of important criteria, you can quickly eliminate poor-quality brokers and identify those that are suitable for beginners.
A trustworthy broker should be transparent, well regulated and offer trading conditions that allow you to learn without unnecessary risk. Don’t be tempted by huge welcome bonuses or unrealistic promises of guaranteed profits—professional brokers compete on service, regulation and reliability, not marketing hype.
| What to Check | Why It Matters |
|---|---|
| Regulation | Protects client funds and ensures the broker follows financial regulations. |
| Trading Platform | Look for MetaTrader 4 or MetaTrader 5 for reliability and ease of use. |
| Demo Account | Lets you practise with virtual funds before risking real money. |
| Customer Support | Reliable support becomes invaluable when you need assistance. |
| Spreads & Fees | Lower trading costs help preserve your profits over time. |
| Deposit & Withdrawal Options | Choose brokers that offer convenient payment methods for South African traders. |
2. Why Regulation Is So Important
If there is one feature you should never compromise on, it’s regulation. A regulated broker operates under strict financial rules that are designed to protect clients, maintain fair trading practices and ensure proper handling of customer funds.
For South African traders, it’s sensible to consider brokers that are regulated by respected authorities such as the Financial Sector Conduct Authority (FSCA), the UK’s Financial Conduct Authority (FCA) or Australia’s Australian Securities and Investments Commission (ASIC). Many leading international brokers also hold licences from multiple regulators.
⚠ Warning Signs of an Unsafe Broker
- Promises guaranteed profits.
- Pressure to deposit money immediately.
- No recognised financial regulation.
- Hidden withdrawal conditions or excessive fees.
- Poor online reputation or numerous unresolved complaints.
- Little or no company information available.
Brian’s Advice
During my trading years, I found that choosing a reliable, regulated broker was far more important than chasing the lowest spread. A trustworthy broker provides peace of mind, allowing you to concentrate on improving your trading instead of worrying about the safety of your funds.
3. Why Every Beginner Should Start With a Demo Account
A demo account is one of the most valuable tools available to new forex traders. It allows you to trade using virtual money while experiencing real market conditions. You’ll learn how the trading platform works, practise placing trades and develop confidence without risking your own savings.
Many beginners are eager to start trading with real money immediately, but this often leads to expensive mistakes. A demo account gives you the opportunity to make those mistakes without any financial consequences, helping you build the skills needed before opening a live account.
Most regulated forex brokers provide free demo accounts with no obligation to deposit money. In many cases, you can open one in just a few minutes.
| Benefit | Why It Helps |
|---|---|
| No Financial Risk | Learn using virtual funds instead of your own money. |
| Platform Experience | Become familiar with MetaTrader before trading live. |
| Strategy Testing | Practise different trading strategies without financial pressure. |
| Confidence Building | Develop discipline before moving to a real account. |
| Learn Risk Management | Practise using stop-losses, take-profits and position sizing correctly. |
4. How to Open a Demo Account
Opening a demo account is straightforward and usually takes less than five minutes. The exact process varies slightly between brokers, but the general steps are almost identical.
Step-by-Step Guide
- Choose a regulated forex broker.
- Click Open Demo Account or Try Free Demo.
- Complete the short registration form.
- Verify your email address if requested.
- Download MetaTrader 4 or MetaTrader 5.
- Log in using the demo account details supplied by your broker.
- Begin practising with virtual funds until you’re consistently profitable.
5. What I Learned From Demo Trading
Looking back over my eight years of trading, I wish I had spent more time on a demo account before risking real money. Like many beginners, I was impatient and wanted to start earning profits immediately. Unfortunately, that impatience cost me money that could easily have been avoided.
Once I slowed down, practised consistently and developed a trading plan on a demo account, my confidence improved significantly. By the time I moved back to live trading, I understood my strategy, knew how to use the trading platform and had learned the importance of managing risk on every trade.
Brian’s Trading Tip
Never feel pressured to open a live trading account quickly. The market will still be there next week, next month and next year. The traders who survive long term are usually the ones who spend time learning first and risking money later.
6. Common Mistakes When Choosing a Forex Broker
Many beginners spend more time looking for the broker with the biggest bonus than the broker with the best reputation. Unfortunately, this often leads to disappointment. Choosing a broker should never be based on advertising alone—it should be based on regulation, trust and long-term reliability.
Over the years, I’ve seen traders lose money not because of poor trading decisions, but because they trusted the wrong broker. Spending an extra hour researching a broker before opening an account can save months of frustration later.
| Common Mistake | Better Choice |
|---|---|
| Choosing the broker with the biggest bonus. | Choose a broker with strong regulation and a solid reputation. |
| Opening a live account immediately. | Spend several weeks practising on a demo account first. |
| Ignoring withdrawal policies. | Read the withdrawal rules before depositing money. |
| Using excessive leverage. | Keep leverage low until you gain experience. |
| Believing guaranteed profit claims. | Avoid any broker promising risk-free or guaranteed returns. |
7. What I Look for Before Recommending a Broker
I don’t recommend brokers simply because they offer affiliate programmes. Before recommending any broker to beginners, I look at the same factors I would use if I were opening a new trading account myself. Trust always comes before marketing.
| Feature | What I Prefer |
|---|---|
| Regulation | Multiple recognised financial regulators. |
| Trading Platform | MetaTrader 5 with stable execution. |
| Demo Account | Free, unlimited or easily renewable demo access. |
| Customer Support | Responsive support with fast problem resolution. |
| Trading Costs | Competitive spreads with transparent pricing. |
My Personal Experience
When I first started trading, I focused almost entirely on spreads and leverage. Looking back, those weren’t the most important factors. What mattered most was using a broker I could trust, having reliable trade execution and practising extensively on a demo account before committing real money. Those lessons saved me far more money than chasing the cheapest spread ever could.
Key Takeaway
A good forex broker should be regulated, transparent and beginner-friendly. Combine that with plenty of practice on a free demo account, and you’ll build a much stronger foundation before risking your own money in the live forex market.
8. Expert Questions & Answers
Q1. What should I look for in a forex broker?
Answer: Choose a broker that is properly regulated, offers a free demo account, provides MetaTrader 4 or MetaTrader 5, has competitive spreads, responsive customer support and a strong reputation for reliable withdrawals.
Q2. Is a demo account really free?
Answer: Yes. Most reputable brokers provide free demo accounts funded with virtual money. They allow you to practise trading without risking your own capital and are the best place to learn before opening a live account.
Q3. How long should I use a demo account?
Answer: There is no fixed period, but most beginners benefit from practising for several weeks or even a few months. Move to a live account only when you can consistently follow your trading plan and manage risk correctly.
Q4. Can I make real money from a demo account?
Answer: No. Demo accounts use virtual funds, so any profits are simulated. Their purpose is to help you learn the platform, test strategies and build confidence before risking real money.
Q5. Which trading platform is best for beginners?
Answer: MetaTrader 5 (MT5) is an excellent choice for beginners because it is easy to learn, widely supported by brokers and includes advanced charting, indicators and automated trading capabilities. MetaTrader 4 (MT4) also remains popular.
Q6. Should I choose the broker with the lowest spreads?
Answer: Low spreads are helpful, but they should never be your only consideration. Regulation, safety, execution quality and reliable withdrawals are usually far more important than saving a fraction of a pip.
Frequently Asked Questions
- Can I open more than one demo account?
Yes. Most brokers allow multiple demo accounts so you can test different trading strategies or account settings. - Do I need to verify my identity for a demo account?
Usually not. Many brokers only require a name, email address and phone number. Identity verification is normally required before opening a live trading account. - How much money should I start with in a live account?
Only deposit money you can comfortably afford to lose. Many beginners start with a small amount while continuing to practise and refine their trading strategy. - Can I use the same strategy on a demo and live account?
Yes. In fact, that’s one of the main benefits of demo trading. It allows you to test and improve your strategy before applying it with real money. - Should I change brokers if I’m unhappy?
Absolutely. If your broker has poor support, unreliable execution or withdrawal problems, consider moving to a well-regulated broker with a stronger reputation.
🛠 Recommended Demo Accounts
The fastest way to learn forex trading is by practising with a free demo account. Both of the brokers below offer beginner-friendly platforms, MetaTrader support and virtual trading accounts so you can learn without risking your own money.
XM Global
Open a free MetaTrader demo account and practise trading with virtual funds while learning how the forex market works.
AvaTrade
Practise trading on MT4 or MT5 with an unlimited demo account before moving to live trading.
📘 Continue Your Trading Education
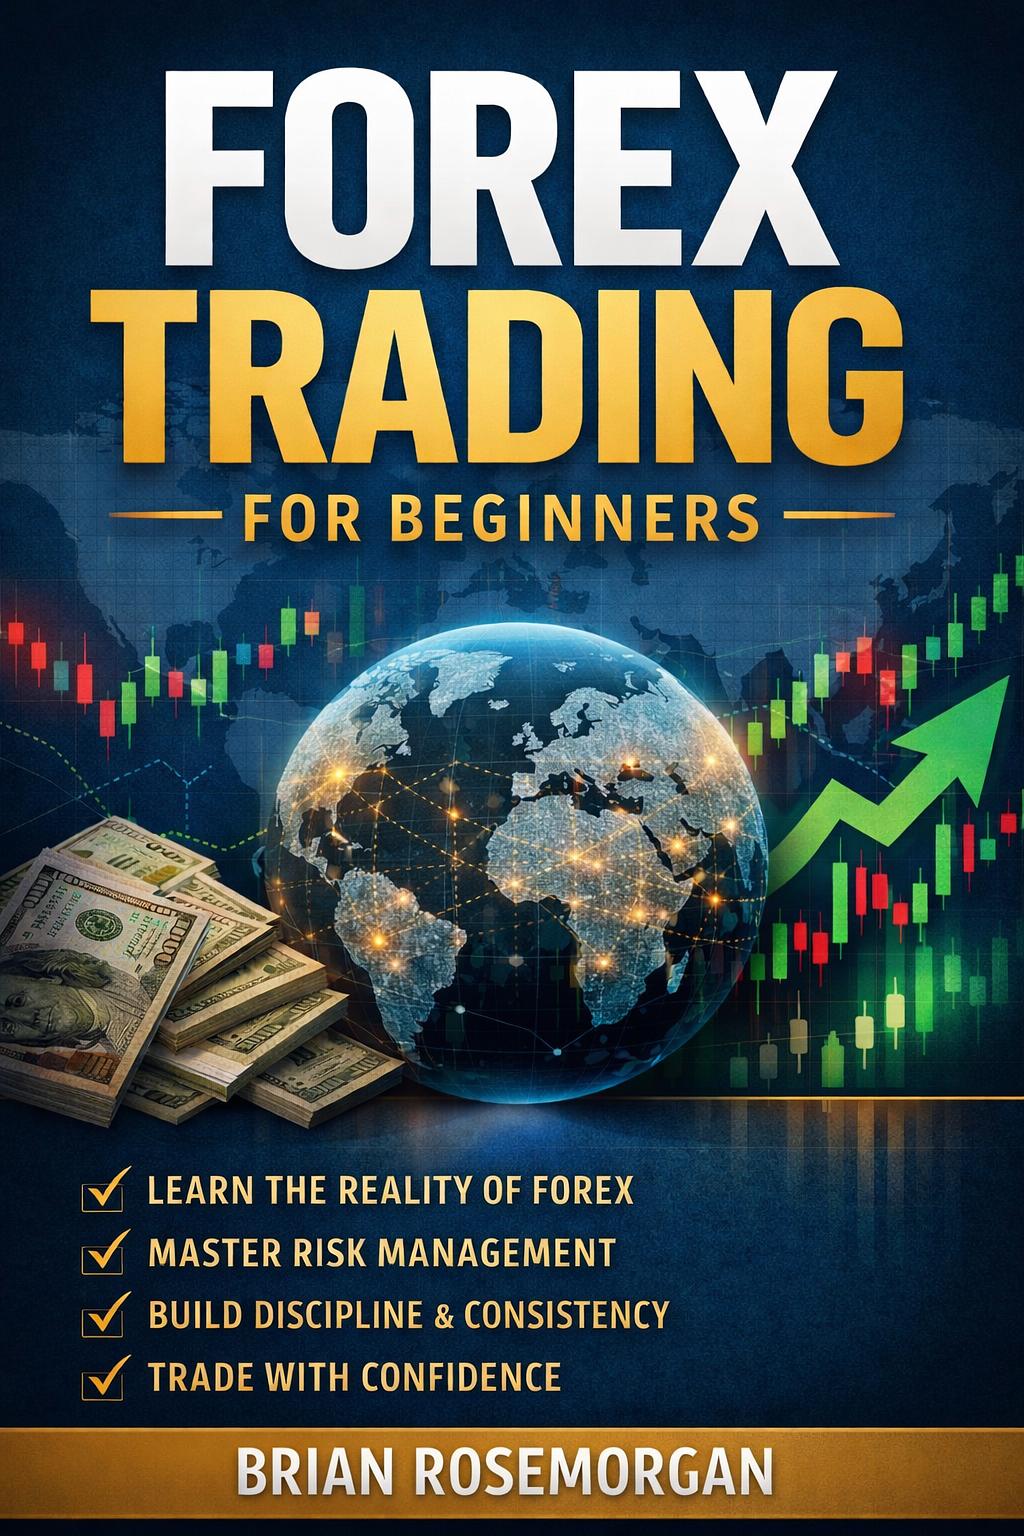
Choosing the right broker is only the beginning. My beginner-friendly book explains forex trading step by step, covering market mechanics, trading strategies, risk management and trading psychology to help you build confidence before risking real money.
CLAIM YOUR COPY →
Disclaimer: Forex trading involves significant risk and may not be suitable for every investor. This guide is provided for educational purposes only and should not be considered financial advice. Always verify that your broker is properly regulated before depositing money, and practise on a demo account before trading with real funds. Never risk money you cannot afford to lose. Please read our full Risk Disclosure.
🎉 Congratulations!
You have completed Module 6 – Lesson 1 – How to Choose a Forex Broker
Click below to return to the Academy and continue with Module 6 – Lesson 2.